
Installation & Setup
Install and configure the Car Rental Manager plugin for WordPress.
System Requirements
To effectively run the WpCarRently plugin, your system should meet the following requirements:
- WordPress Version: 5.3 or higher
- PHP Version: 7.0 or higher
- Database: MySQL version 5.7 or greater, or MariaDB version 10.4 or greater
- Web Server: Apache or Nginx with HTTPS support
Ensuring your hosting environment meets these specifications will provide optimal performance and compatibility for the WpCarRently plugin.
Installing the Free Version
- Go to your WordPress Admin Panel.
- Navigate to Plugins > Add New.


- Search for Car rental in the search bar.
- Click Install Now and then Activate on “Car Rental Manager – Online Vehicle Booking System”.
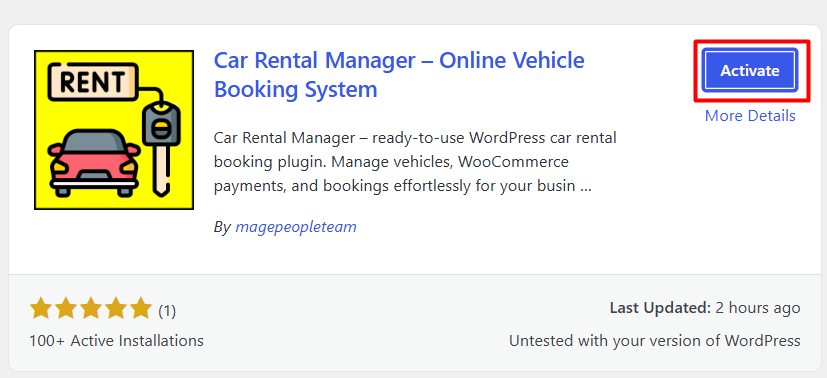
Car Rental Manager requires WooCommerce to handle bookings, pricing, and payments by default. You can install and activate WooCommerce for payment processing, or ignore the prompt and use a custom payment method instead.

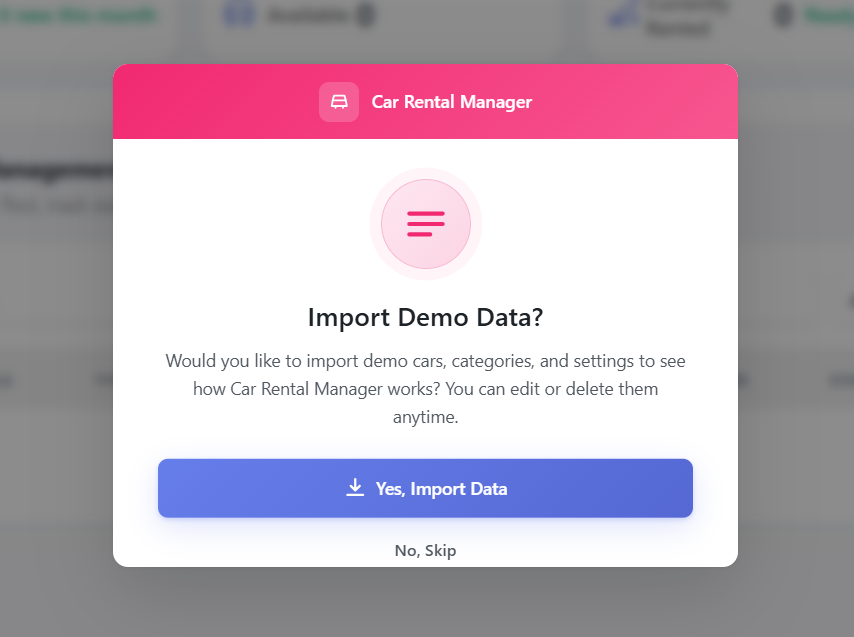
After activation you’ll be prompted to import demo data — cars, categories, and settings — so you can see how the plugin works. You can edit or delete the demo content at any time.
Purchasing & Installing the PRO Version

Purchase any PRO plan to get your license key and the PRO plugin. Download the plugin zip file from My Account after buying the Pro version.
- Go to Plugins > Add New.
- Click the Upload Plugin button.
- Choose the plugin zip file
car-rental-manager-pro.zipand click Install Now.

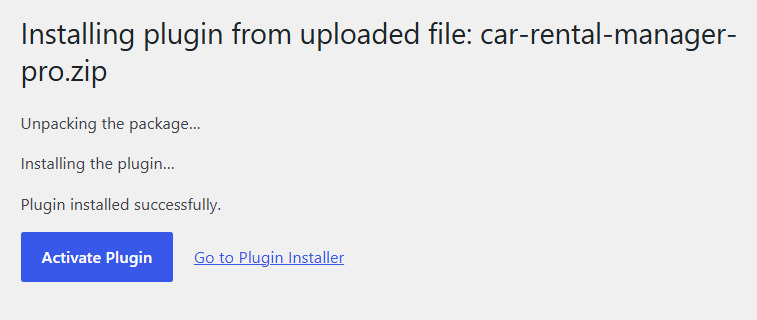
Activate the plugin. Car Rental Manager PRO uses the free MagePeople PDF Support plugin to generate and download PDF booking tickets, so you’ll get a prompt to install and activate it as well.

Activating Your License
Go to Car > Global Settings in the WordPress admin sidebar.

Select the MAGE-PEOPLE LICENSE tab, enter your license key next to WpCarRently, and click Active.

Next Steps
With the plugin installed and licensed, head to Vehicle Management to add your fleet, branches, and drivers.