Event Seat Plan
Overview
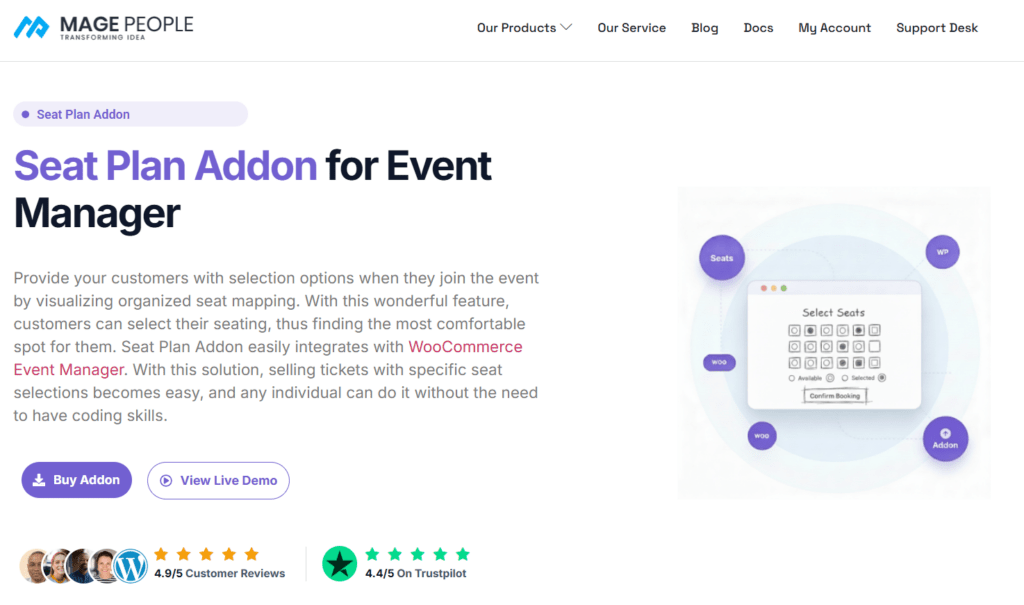
The Seat Plan Addon for WpEvently transforms standard event ticketing into an interactive, visual booking experience. By leveraging WooCommerce, it ensures real-time availability and allows attendees to select their preferred seats directly from a custom map.
Installation
- Download the addon zip from your account.
- Go to Plugins → Add New → Upload Plugin.
- Upload the zip and click Install Now.
- Activate the plugin from the Plugins page.
Create Event
After logging into the WordPress Dashboard, go to Event Manager → Add New Event or edit an existing event.
From your modern editor, navigate to Ticket & Pricing and start creating a ticket type with ticket name, price, capacity, sales end time, and date. Add more ticket types by clicking Add New Ticket Type.
Simple Grid Mode
Scroll down to the Seat Plan section and enable the seat plan for this event. The option to set each ticket type's quantity from its seat count will be enabled for the Free-form designer seat plan. There are two options: Simple Grid and Free-form Designer.
Add a label for your screen or stage from the Screen/Stage label field. Add rows and seats based on the total quantity of the event ticket types. For example, if you have 60 seats across 3 ticket types (VIP: 10, Medium: 20, Normal: 30), set 6 rows with 10 seats per row. Choose row labels (numbers or letters) and click Generate grid.
Add seat type color for different ticket types, sold, and selected row. You can add any color to your seat type. For the Gap/Aisle row, there is no color.
Click on any seat type and apply its color to the rows. Create gaps between rows using the x Gap / Aisle button.
Double-click any seat to change its number, label, ticket type color, or mark it as a gap. Hit Save after making changes.
Free-form Designer Mode
In this mode, you have a blank canvas where you can design seats however you want. This is suitable for those who want to design seats in a custom format.
Colors
The Colors tab lets you customize every visual element including seat colors, hover effects, sold seats, selected seats, male/female icons, and wheelchairs.
Width & Height
The Dimensions tab controls the canvas size (width and height).
Background
The Background tab controls the canvas background — choose a solid color, gradient, or upload a background image.
Opacity
Use the Fit option to control image sizing: Stretch (fill canvas), Fit (keep ratio), Cover (fill + crop), or Tile (repeat).
Quick Starter Templates
If you don't have much time, use the Quick-start template feature. It includes pre-built designs for Theatre, Cinema, Banquet, Stadium, Classroom, Wedding, and more.
Select a template and click Apply template. The template can be further edited. Use the Layers tab to hide, unhide, or delete individual seats.
Generate Seats from Ticket Capacity
If you want to add seats based on ticket types and capacity, enable Set each ticket type's quantity from its seat count.
A new Generate seats from ticket capacities button will appear. Click it and your seat design will be generated based on your ticket types with specific colors.
Click Update and check the seat design on your booking page.
Purchase
This addon is available for purchase from the MagePeople website.